
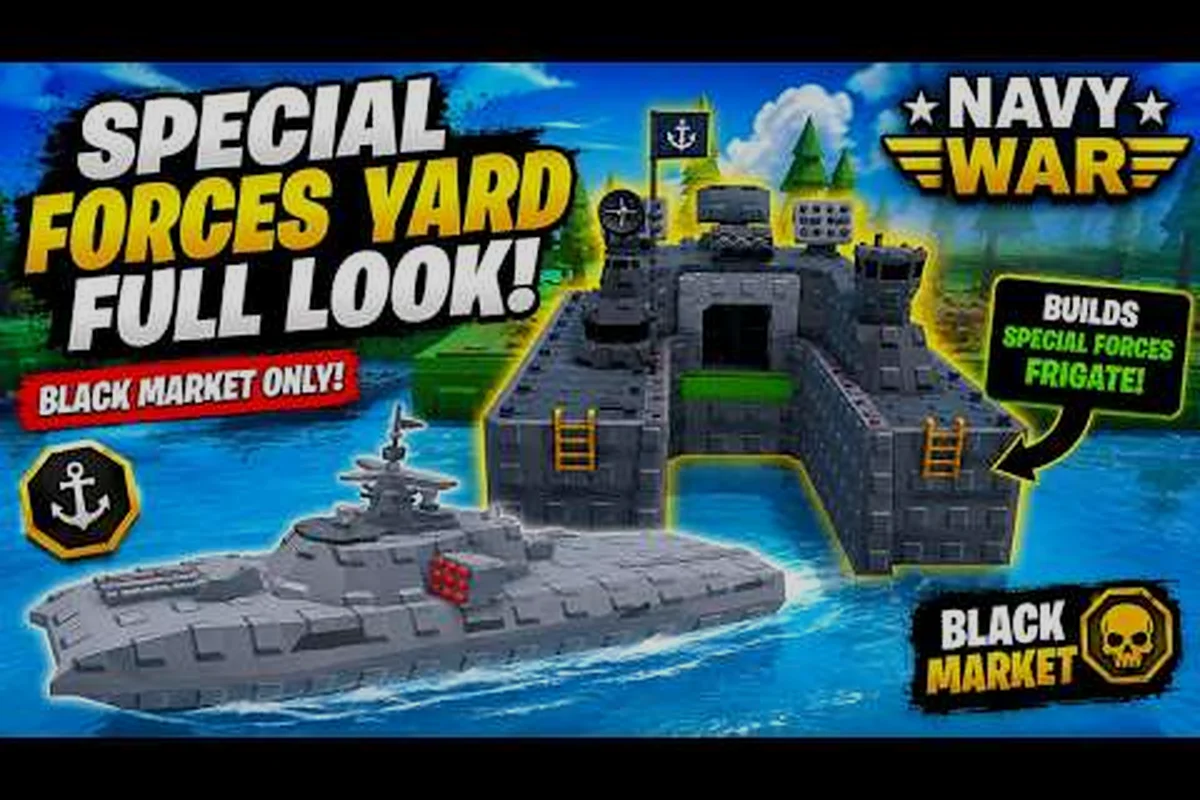
Navy War throws new captains straight into a churning ocean of dock slots, ship types, and upgrade paths, and the difference between a floating wreck and a champion fleet usually comes down to a handful of habits picked up early. Smart Navy War tips and tricks can shave dozens of wasted minutes off your first build while teaching you the hidden mechanics veterans exploit every match on the Roblox strategy scene by Parabola MMOVEMENT.
Building a Base That Actually Scales
Your island base is the heartbeat of every match, and treating it as a passive backdrop is one of the fastest ways to stall your economy. The first 30 minutes set the tone for the rest of the round, so every dock slot, shipyard upgrade, and resource node should earn its place.
Foundation Layout Priorities
Most rookies pile structures onto a single coastline and wonder why their build order stalls. The smarter move is to mirror the Core Triangle layout that top players use on the official Navy War game page: one Dock block on the southern shore, a Shipyard on the east, and a Factory cluster inland near the resource veins. This triangle lets haulers run a tight loop without doubling back across the island, which means more steel per minute for the same worker count.
| Structure | Best Placement | Why It Works | Early Priority |
|---|---|---|---|
| Dock | South coast, deep water | Fastest launch path for new hulls | 1st build |
| Shipyard | East coast, mid water | Shorter retrieval trips | 2nd build |
| Factory | Inland near ore | No dock congestion | 3rd build |
| Defense Tower | High ground corners | Covers both sea lanes | 4th build |
Resource Triangle Cheat Sheet
A surprising number of captains hit a wall at the 20-minute mark because they overcommit to one resource path. The hidden trick is balance: keep your Steel, Oil, and Crew ratios near 3:2:2 during peace phases, then shift to 4:3:1 when a PvP timer pops. Switching the haulers' preferred route through a small inland pad cuts roughly 15% off round-trip time, which adds up across an entire match.
If you want a deeper dive on optimization order, our Navy War efficiency tips guide expands on the math behind these ratios — covering how the 3:2:2 peace-phase distribution compares to the late-game 5:3:2 ceiling, why Oil breakpoints shift once you unlock tier-3 destroyers, and how reallocating even 8% of your Steel stockpile into Crew during the final 5 minutes of a contested zone can flip a losing trade lane.
Ship Hulls, Loadouts, and What to Build First
Navy War ships fall into five official classes, and each one punishes a different mistake. Picking the wrong hull for your current economy is one of the most common Navy War common mistakes to avoid, because a single battleship in a steel-starved fleet is a floating sunk cost.
Hull Tier Matchup Matrix
| Hull Class | Role | Cost Tier | Best Matchup | Rookie Trap |
|---|---|---|---|---|
| Destroyer | Scout / harass | Low | Lone raiders, convoys | Stays too long in fleet fights |
| Cruiser | Mid-line fighter | Medium | Mixed fleets | Built before enough steel income |
| Battleship | Capital brawler | High | Static enemy bases | Sits idle waiting for ammo |
| Submarine | Ambush hunter | Medium-high | Docked capital ships | Surfaced in shallow lanes |
| Aircraft Carrier | Late-game siege | Very high | Player islands | Built before dock level 4 |
Build Path Timing Formulas
Pro loadouts follow a simple Navy War advanced gameplay tips rule: match the Weapon Module to the hull's range band. Destroyers want twin cannons with a 30° arc, cruisers thrive on rail guns that punch through cruiser armor, and battleships need the heavy turret that ignores 25% of the target's plating. Submarines benefit the most from the Torpedo Cluster mod because it stacks two damage ticks on a single hit, which is what experienced players exploit when ambushing a docked battleship.
For a full walkthrough of base expansion order, the Navy War base building tricks companion covers the dock-level thresholds that gate each hull class — specifically the Dock 4 / Dock 7 / Dock 9 breakpoints that unlock destroyer, cruiser, and battleship production respectively, plus the oil-tank upgrades that cap sustained fleet sorties during longer engagements.
Underused Ship Abilities Most Players Never Find
The most powerful Navy War hidden tricks are not buried in menus — they live in the timing windows and small UI shortcuts that casual players scroll past. Learning them turns a 45-minute early game into a 25-minute rush, which is exactly how veterans stay two bases ahead of the lobby.
Camera and Control Shortcuts
| Shortcut | Action | Why Pros Use It |
|---|---|---|
| Hold right-click + drag | Orbit camera around selected ship | Quick flanking reads |
| Double-tap hull icon | Auto-queue respawn at dock | Saves trips back to base |
| Shift + click resource | Send only half the haulers | Prevents overspend on one node |
| Press M over water | Ping map for enemy fleet | Fast mid-fight coordination |
| Scroll on minimap | Zoom enemy island view | Scouting without losing your ship |
The Quick-Swap Dock Timing Glitch
Right before a PvP window opens, queue three cheap Destroyers in your dock and immediately shift them to Hold Fire stance. They will sit on the waterline for 90 seconds, which is exactly the cooldown window of the First Strike PvP buff. When the timer flips, flip their stance to Engage and they spawn fully loaded with the damage bonus already applied. Most rookies never see this because the buff icon hides behind the crew count, but it is one of the cleanest Navy War pro player tips for snowballing early fights.
A second hidden mechanic worth noting: switching the fleet's Aggression Level from Defensive to Aggressive in the two seconds before an enemy enters your detection radius triggers a hidden First Salvo bonus that adds 18% crit chance to the opening volley. Reported by players on community Discord threads, this trigger does not appear in any tooltip, which is why so many new captains miss it.
Pro Player Habits and Routines
Navy War pro player tips read less like cheats and more like a checklist that veterans run every match, built around a tight loop of spawn-camp denial, sonar cooldown tracking, and resource hoarding before the 3-minute mid-match respawn wave. The best ones are boring, repeatable, and ruthlessly consistent — things like always capping the southern fuel depot first, never over-committing to a torpedo salvo without minesweep support, and rotating dreadnoughts back to port at the 70% armor threshold rather than risking a one-shot delete.
The 5-Minute Base Audit
Pro-level navy war players pause every five minutes and run through the same four pre-engagement checks—Steel reserves, hauler route integrity, Dock Level parity, and Defense Tower coverage—because these snapshots catch the silent resource bleed and broken convoy chains that snowball into a minute-35 torpedo ambush. The audit only works if it triggers an immediate redirect, so players should treat any "no" answer as a hard stop: queueing hulls at a mismatched Dock Level, for example, wastes 90 seconds per ship and invites a flanking destroyer run that an early fix would have denied.
-
Is my Steel stockpile above 60% capacity?
-
Are all haulers assigned to the shortest route, or did a new structure break the chain?
-
Does my current Dock Level match the hulls in queue?
-
Is my Defense Tower covering the most likely raid lane?
Answering "no" to any of these usually means a small redirect fix prevents a 10-minute stall later. Players who skip the audit tend to lose the match in minute 35 to a single torpedo ambush that an audit would have prevented.
Fleet Composition Discipline
| Fleet Slot | Recommended Ratio | When to Break It |
|---|---|---|
| Destroyer | 40% | Never below 30% |
| Cruiser | 25% | When pushing mid game |
| Battleship | 15% | Only at dock level 5+ |
| Submarine | 10% | Always 2 or more for ambush coverage |
| Aircraft Carrier | 10% | Only when ore stockpile exceeds 800 |
Sticking close to this ratio is the most reliable Navy War advanced gameplay tips shortcut, because it lets your dock rotate hulls without leaving gaps in any combat role. The handful of times veterans break the rule, they are usually transitioning into a final siege, and even then they keep at least two submarines in reserve to punish overextended counterattacks.
Common Mistakes and What Not to Do
Almost every rookie loss in Navy War traces back to one of a handful of repeatable Navy War what not to do patterns. Pinning these down early is the single fastest way to climb out of the early-game slump.
The Five Rookie Traps
-
Building a battleship before dock level 4 — the hull sits idle, drains steel, and crowds out cheaper ships that would actually rotate.
-
Ignoring the Detection Radius indicator — letting an enemy sub slip inside your fleet's blind spot is the leading cause of one-shot losses.
-
Over-queuing haulers on a single node — the workers collide, throughput drops, and your economy flatlines for a full minute.
-
Chasing kills past the mid-line — the 8-second out-of-combat heal window only triggers in your own sector, so deep chases usually end in a trade loss.
-
Ignoring the PvP timer bell — a single missed bell usually costs a free First Strike window, which veterans convert into a base wipe.
How to Recover From a Bad Start
If you already burned your early steel on a stalled battleship, do not queue another capital hull. Instead, scrap it for a 50% steel refund, run two destroyer waves, and rebuild the economy before attempting a second capital. Most rookies double down on a bad build because scrapping feels wasteful, but the refund route usually gets you back to a stable economy inside 10 minutes. The same logic applies to over-upgraded factories: if your workers keep colliding, drop one tier and reassign the haulers before adding the upgrade back.
Surviving the opening minutes is its own skill, and our Navy War surviving early game guide maps the exact first 20 minutes of safe play. The breakdown covers resource thresholds (when to pause construction to bank steel), the optimal scout placement on each map's coastline, and the most common opening 90-second rushes that catch new players off guard. Treat that guide as the recovery companion to the scrapping advice above: scrap the bad hull, stabilize with destroyers, then replay the safe opening to rebuild your fleet momentum without repeating the same first-misstep.
Speed Boost, Shortcuts, and Quality-of-Life Moves
Quality-of-life tricks are the Navy War tips and tricks veterans brag about in post-match lobbies, because they stack into a real advantage without changing the underlying numbers. They are also the easiest Navy War hidden tricks to learn, since most of them live behind a keybind you probably never tried.
Keybind Cheat Sheet
| Keybind | Default | Pro Setting | Edge It Creates |
|---|---|---|---|
| Select all idle haulers | F1 | F1 (unchanged) | Saves 2 seconds per redirect |
| Recall fleet | R | Mouse side button | Faster disengage |
| Ping minimap | M | Spacebar tap | Hands stay on movement keys |
| Toggle UI | Tab | Tab (unchanged) | Clean screenshots for scouting |
| Open build wheel | B | Mouse wheel click | One-tap structure placement |
The Quiet Resource Trick
A final QoL shortcut worth committing to muscle memory: holding Shift while clicking a haul route draws a temporary Green Path that ignores terrain obstacles for 8 seconds. The path does not persist, but it lets you shove a critical iron shipment across a contested ridge without losing the haulers to a stray sub. Combined with the dock trick and the audit routine, these habits form the backbone of every competitive Navy War run and explain why veterans seem to scale their bases twice as fast as the rest of the lobby.
If you want the full keybind map and a list of every hidden UI toggle, the Navy War shortcuts guide collects them in one place — including the F1–F4 macro slots for fleet stance swaps, the Alt+number camera bookmark system for marking contested oil tiles, and the rarely-documented Ctrl+Shift+F combo that toggles fog-of-war opacity for scouting without revealing your own sub positions to observers.
Frequently Asked Questions
What is the best ship to build first in Navy War?
The Destroyer is the strongest opening hull because its low steel cost lets you queue multiple units while your economy stabilizes, and its fast hit-and-run profile teaches you the game's core combat timing. Save the capital-class ships for dock level 4 and above so they do not stall your build order.
How do I unlock the Aircraft Carrier?
You need to reach Dock Level 5 and stockpile at least 800 Steel before the carrier becomes available in the build wheel. Most players hit this threshold around minute 40 of a clean run, which is also when ore nodes are deep enough to support the carrier's daily upkeep.
What is the fastest way to grind steel early?
Set your haulers to the Ore Node loop the moment your second Factory finishes, and avoid spending steel on anything other than destroyers until the stockpile crosses 200. The 3:2:2 resource ratio covered earlier keeps the income climbing without starving your dock of crew and oil.
Can I recover from losing my entire fleet?
Yes, but only if you stop queuing new hulls for 60 seconds and let the dock regenerate its launch window. Use that pause to scrap any high-tier wrecks for a partial steel refund, then rebuild from destroyers upward. Most comeback runs start with three cheap destroyers instead of one expensive capital.