
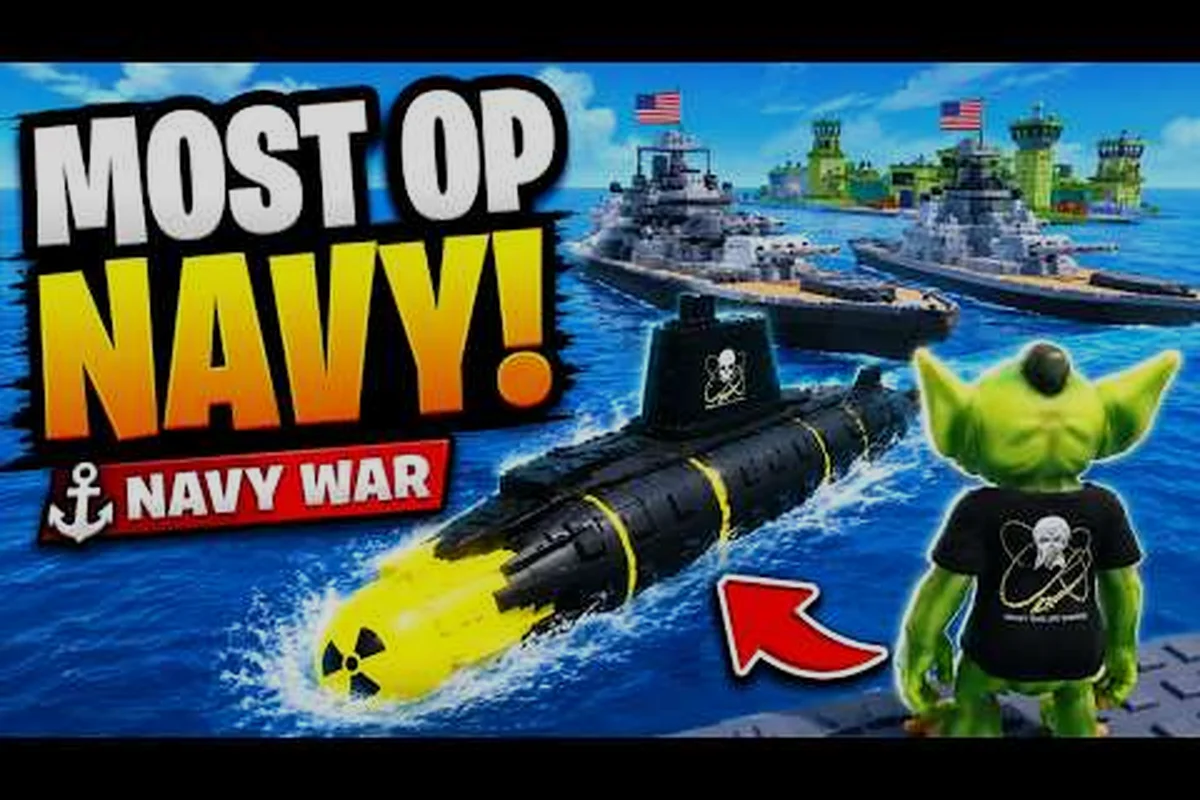
Starting Your Navy War Island Base Setup
A strong Navy War base building guide starts before you drop your first dock, because every tile you claim on the island shapes how fast you can pump out destroyers, cruisers, and carriers later. Navy War is a Roblox naval strategy title by Parabola MMOVEMENT where players construct island bases, build fleets across five ship classes, and contest each other in open-water PvP, and every battle is won or lost at the blueprint stage. According to the official Navy War game page on Roblox, the core loop is base → fleet → combat, which means your dock, shipyard, and factory tiers are the real currency of the match.
This guide walks through the full Navy War base building guide pipeline: choosing where to anchor your harbor, ordering dock and shipyard upgrades, mapping out a layered defense, and squeezing more output from the factory so your fleet is never waiting on parts. You will also see how to plug your base into the wider island base setup so resource nodes, repair bays, and watchtowers support each other instead of competing for space.
Why Base Layout Matters Early
The first 30 minutes of a match determine whether you spend the rest of the game defending or expanding. Players who scatter buildings across the shoreline leak resources to every passing raid boat, while players who cluster key production behind a layered wall can absorb two or three probing attacks without losing a ship on the slip. The community has converged on a few repeatable templates, and the best Navy War base layout tips all share one trait: they put the dock and shipyard on the protected inner ring, with the factory pushed to the outer production belt so it can be rebuilt quickly if it goes down.
Dock and Shipyard Construction Priorities
The dock and shipyard are the two buildings that turn raw resources into a navy, so your Navy War dock upgrade guide and Navy War shipyard building guide have to move in lockstep. Upgrading one without the other creates a bottleneck where finished hulls sit in dry-dock waiting for a slot, or empty slips sit idle waiting for parts that never arrive.
Building Tier Cheat Sheet
| Building | Tier 1 Effect | Tier 3 Effect | Tier 5 Effect | Common Mistake |
|---|---|---|---|---|
| Dock | 1 active slip, 1 minute build | 3 active slips, 30% build speed | 5 active slips, 50% build speed, +1 repair bay | Upgrading dock before unlocking factory parts |
| Shipyard | Unlocks Destroyer hull | Unlocks Cruiser + Battleship | Unlocks Submarine + Aircraft Carrier | Skipping shipyard to rush defenses |
| Factory | 1 part slot, slow output | 3 part slots, mid output | 5 part slots, +10% part quality | Letting factory fall behind dock tier |
Recommended Upgrade Order
-
Dock → Tier 2: doubles your active slips and is the cheapest meaningful speed bump in the early game.
-
Factory → Tier 2: a Tier 2 dock is useless if your factory is still producing one part every two minutes.
-
Shipyard → Tier 2: this is when Destroyer construction stabilizes and you can start trading with neutral ports.
-
Dock → Tier 3: three slips are the minimum for a competitive fleet rotation during contested water hours.
-
Shipyard → Tier 3: unlocks Cruiser and Battleship hulls, which is where your alpha-strike damage scales.
-
Factory → Tier 3: three part slots keep up with multi-slip production once battleship modules enter the queue.
-
Dock → Tier 4 and beyond: only after the factory and shipyard are at the same tier, otherwise you pay for slips you cannot feed.
A solid Navy War base building guide always treats the dock, shipyard, and factory as a single triangle rather than three independent buildings, and that is why this order matters more than any individual tier rush.
Navy War Factory Upgrade Path and Resource Flow
The Navy War factory upgrade path is the unglamorous backbone of the whole base, because every ship class in the game needs factory parts before the shipyard will even start the hull. Players who ignore the factory end up with empty slips and a maxed-out dock that does nothing, which is one of the most common failure modes reported by new commanders on community forums.
Factory Output by Tier
| Factory Tier | Part Slots | Output Speed | Unlocks | Power Draw |
|---|---|---|---|---|
| Tier 1 | 1 | Baseline | Basic hull plates | Low |
| Tier 2 | 2 | +40% | Secondary plating, small engines | Medium |
| Tier 3 | 3 | +90% | Heavy plating, large engines | High |
| Tier 4 | 4 | +150% | Aircraft carrier modules | Very high |
| Tier 5 | 5 | +220% | All endgame modules, +10% part quality | Maximum |
Resource Routing Tips
-
Keep a dedicated resource lane from your outermost mining node straight to the factory, so part production never starves when a raid hits your harbor.
-
Place the factory inside the inner ring once you have walls, but leave one outer rebuild pad so a destroyed factory does not cascade into an unrecoverable base.
-
Pair every factory tier with a matching dock tier, because the math is simple: three factory slots feeding five dock slips means two slips are always idle.
When the factory is humming at Tier 3, your Navy War base layout tips can finally start including real fleet compositions instead of placeholder hulls. If you want a deeper walkthrough of dock-to-shipyard timing, our Navy War infrastructure development breakdown covers how each tier shifts your match tempo from defense to offense.
Layered Navy War Base Defense Strategy
A serious Navy War base defense strategy is not a single wall — it is a stack of three rings that absorb damage in order, buying your fleet time to sortie. The inner ring protects production, the middle ring breaks up the raid formation, and the outer ring slows the enemy down long enough for your watchtowers to open fire.
The Three-Ring Template
| Ring | Buildings | Purpose | Rebuild Cost |
|---|---|---|---|
| Outer | Watchtowers, decoy docks, anti-boat traps | Slow raid boats, force them into chokepoints | Low — designed to be lost and rebuilt |
| Middle | Repair bays, ammo caches, patrol routes | Break up formation, sustain defenders during the fight | Medium |
| Inner | Dock, shipyard, factory, storage | Keep production running even if outer ring falls | High — protect at all costs |
Defensive Layering Tips
-
Stack at least 2 watchtower levels per outer chokepoint, because a single watchtower can be focused down by a coordinated cruiser rush in under a minute.
-
Place repair bays on the middle ring, not the inner ring, so damaged ships do not have to sail through contested water to reach them.
-
Use decoy docks on the outer ring to bait raid boats into your watchtower arc, which is the cheapest way to bleed down a destroyer rush without spending premium resources.
A reliable Navy War island base setup treats defense as a system, not a checklist, and the three-ring template is the simplest way to keep that system readable while you are still learning the map. For a more advanced take on stacking turrets and walls, the Navy War naval fortress guide walks through endgame chokepoint design for players who have already maxed their dock and shipyard.
Advanced Base Layout Tips and Fleet Synergy
Once the dock, shipyard, and factory are at Tier 3 and your three-ring defense is in place, the Navy War base building guide shifts from foundation work to fleet synergy, and that is where the real skill ceiling lives. The goal at this stage is to align your production ratios with the fleet composition you actually want to run, instead of building whatever the shipyard unlocks first.
Production Ratio Cheat Sheet
| Fleet Focus | Dock Slips | Factory Slots | Shipyard Tier | Best Counter |
|---|---|---|---|---|
| Destroyer spam | 5 Tier 3+ | 3 Tier 2+ | Tier 2 | Slow cruisers, bait chokepoints |
| Balanced cruiser line | 3 Tier 4+ | 4 Tier 3+ | Tier 3 | Carrier opener into torpedo run |
| Battleship anchor | 2 Tier 5+ | 5 Tier 4+ | Tier 4 | Submarine wolfpack at night |
| Carrier-led fleet | 3 Tier 5+ | 5 Tier 4+ | Tier 5 | Air superiority contest, watch for cruisers |
Advanced Layout Moves
-
Rotate your outer ring seasonally — community testing suggests that keeping the same decoy dock in place for more than 3 matches lets opponents learn your chokepoint, so swap watchtower placements between raids.
-
Build the factory and shipyard on opposite sides of the inner ring, so a single well-placed airstrike cannot cripple both production lines at once.
-
Reserve one Tier 5 dock slip as a panic emergency repair, because the difference between losing two ships and losing zero in a base race is often just one extra repair bay.
A clean Navy War base layout also includes a forward scouting pier on the outermost edge of your island, so you can see raid formations before they enter your watchtower arc and call out the threat direction to your fleet. The combination of scouting, layered defense, and tier-synced production is what separates a base that simply survives from a base that wins its own defense timer.
Putting the Full Navy War Base Building Guide Together
The full Navy War base building guide is really four habits stacked on top of each other: keep the dock, shipyard, and factory at the same tier; route resources along a dedicated lane; defend in three rings instead of one wall; and align your production ratio with the fleet you actually want to run. If those four habits are in place, every other Navy War base layout tips you read online will start making sense, because you will already have the foundation those tips are built on.
Navy War rewards commanders who plan their base the way a real admiral plans a harbor: a clear production core, a layered defense, and a fleet that can sortie at a moment's notice. For a fuller walkthrough of how to translate this base into a PvP-winning fleet, the Navy War advanced base building guide picks up where this one leaves off and digs into endgame base races and counter-meta play.
Frequently Asked Questions
What is the first building to upgrade in a Navy War base building guide?
The Dock is the right first upgrade, because a Tier 2 dock doubles your active slips and immediately multiplies the value of every other building. Going from 1 slip to 2 slips is the cheapest speed bump in the early game and pays for itself within a few destroyer builds.
How many dock slips do I need for a competitive fleet?
Three slips is the practical minimum for competitive play, because you need at least one slip open for repairs while the other two are running production. Most veterans aim for 4–5 active slips once the factory and shipyard are at Tier 3 or higher.
When should I unlock the Aircraft Carrier in the shipyard?
You should unlock the Aircraft Carrier at shipyard Tier 5, after the battleship and cruiser lines are stable. Rushing to carrier before your factory can feed Tier 5 modules leaves the slip idle, which is one of the most expensive mistakes in any Navy War base layout.
Where should the factory sit in a Navy War base defense strategy?
The factory should sit on the inner ring, but not in the same cluster as the dock and shipyard, because spreading production across two sides of the inner ring prevents a single airstrike from crippling the whole base. Keep a rebuild pad on the outer ring so you can recover fast if the inner factory is focused down.
Can I run a Navy War island base setup without a Tier 5 dock?
Yes, but you will be capped on fleet size and repair throughput. A Tier 4 base with 4 active slips is viable for casual and mid-tier play, while serious ranked play usually expects Tier 5 docks feeding a full battleship and carrier rotation.