
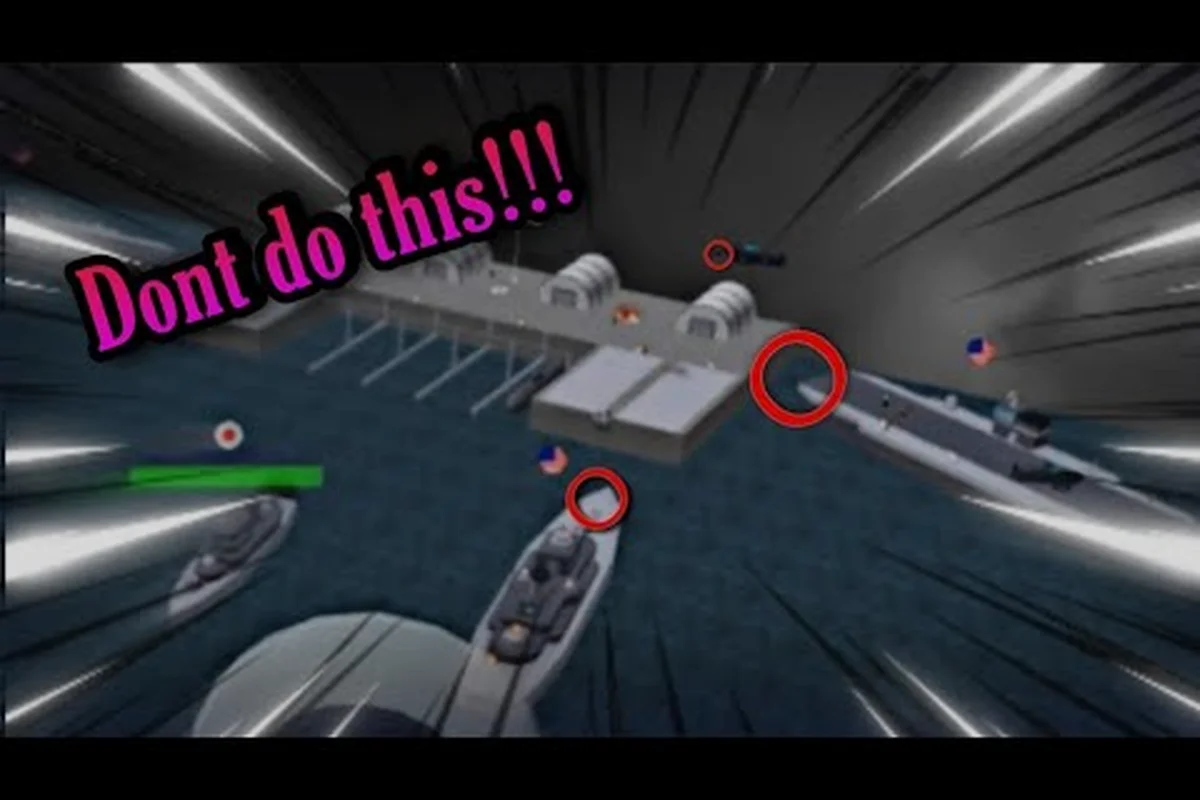
Dropping into your first few matches in Navy War can feel like watching your dock burn in slow motion. Every ship you queue, every island you claim, and every fight you walk into either builds a foundation or hands the enemy a freebie. The fastest way to stay alive is to stop guessing, learn the ship tier curve, pick a real role inside your fleet, and treat base defense like a habit instead of an afterthought.
This guide pulls together the most reliable Navy War new player survival tips straight from community play and the official Roblox game page. You will get a clear ship tier explanation, a no-fluff Navy War support role guide for beginners, and a base defense checklist that actually holds up in a 6v6 server where one mistake costs a destroyer.
Navy War Ship Tier Explanation for New Players
The first decision every new captain makes is what to build first, and that decision shapes everything that follows. According to the official Navy War page on Roblox, the game gives you access to a small fleet roster spanning destroyers, cruisers, battleships, submarines, and aircraft carriers. The trap most new players fall into is reading the tier list as a power ranking and then building whatever sits at the top. That almost always backfires because the top of the list assumes you already have a working economy, a defended base, and a crew that knows how to fight together.
How the Ship Tier Curve Actually Works
The tier curve in Navy War is not a flat ladder. Lower-tier ships build faster, repair cheaper, and respawn quicker, which means they forgive mistakes. Higher-tier ships hit harder and carry more health, but they also sit in the shipyard longer, cost more resources per hull, and turn into a major setback every time they get sunk. The smart play for a new player is to anchor your early fleet in Tier 1 and Tier 2, push one Tier 3 unlock once your economy feels stable, and treat Tier 4 and Tier 5 as end-game investments rather than starter builds.
The tier curve in Navy War reads easiest when you cross-reference two columns side by side: the relative build time tells you how long a hull ties up your shipyard, while the repair cost tells you the resource penalty every time it takes a scratch in combat. For new players, the practical shortcut is to scan the table from left to right and treat any ship where build time and repair cost both spike at the same tier as a "do not rush" line — a Destroyer can be rebuilt in seconds with cheap steel, but an Aircraft Carrier that sinks mid-match can lock you out of a flank for the rest of the round, so glance at the row's "Best Phase to Build" column before you commit resources.
| Tier | Example Ship | Build Time (relative) | Repair Cost | Best Phase to Build |
|---|---|---|---|---|
| Tier 1 | Destroyer | Fast | Low | First 10 minutes of a match |
| Tier 2 | Cruiser | Moderate | Medium | Once your dock is defended |
| Tier 3 | Battleship | Slow | High | After first resource spike |
| Tier 4 | Submarine | Slow | High | Mid-game, only with allies |
| Tier 5 | Aircraft Carrier | Very slow | Very high | Late-game fleet anchor |
Matching Ship Tier to Your Survival Goal
A useful Navy War ship tier explanation always comes back to your survival goal in the current match. If your priority is staying alive long enough to learn the map, lean on destroyers and light cruisers. They let you scout, peel off attackers, and escape bad engagements without losing 15 minutes of build progress. If your priority is contributing to a team push, a Tier 3 battleship in the mid-game gives you the firepower to crack an enemy base while still being affordable to replace. Tier 4 submarines and Tier 5 carriers are win-condition tools, not learning tools, and the Navy War beginner guide walks through the same idea from a broader starting-point angle.
Navy War Support Role Guide for Beginners
Support is the most underrated role in Navy War and the one that keeps new fleets alive the longest. A support player does not top the damage chart, but they keep the dock repaired, screen incoming threats, and feed the rest of the team the vision they need to make good calls. The community calls this "playing anchor," and it is the single fastest way to climb out of the early-game wipe cycle.
What a Support Player Actually Does
A support player in Navy War juggles three jobs at once. First, they babysit the dock and shipyard, making sure repairs and new builds are never idle. Second, they screen for the team, using fast ships to scout the perimeter and call out enemy movements. Third, they peel for the damage dealers, sacrificing their own positioning to absorb a torpedo or pull aggro off a battleship that is trying to line up a broadside.
A support player who banks a single clutch heal or a well-timed mine screen routinely converts losing fights into drawn fights, and drawn fights into wins — which is why veteran Navy War players will tell new commanders that climbing the ship tier ladder on the support ladder is often faster than grinding as a solo damage carry, since the matchmaking system weights utility contribution heavily when pairing balanced teams for ranked dock battles.
Support Build Priority and Matchups
| Role Slot | Recommended Ship | Why It Works in Support | Matchup to Avoid |
|---|---|---|---|
| Dock Guard | Destroyer | Fast, cheap, easy to reposition | Lone submarine duels |
| Scout | Light Cruiser | Vision range, decent AA | Sitting in main fleet line |
| Peeler | Cruiser | Enough HP to tank one salvo | Extended 1v1 with battleship |
| Anti-Sub | Destroyer with depth charges | Forces submarines to surface | Open water with no island cover |
If you are still getting your feet under you, the Navy War how to get started piece covers how to slot into one of these roles without stepping on the more experienced players in your server.
Common Support Mistakes to Avoid
New support players tend to over-chase. They see an enemy destroyer on the edge of vision, peel off to chase it, and leave their battleship exposed to a cruiser broadside. The fix is simple. Stay within render distance of the ship you are screening for, hold the line, and only commit to a chase when the kill is guaranteed. Another common mistake is ignoring the repair queue. A ship that sits at 30 percent HP is a liability, and a support player should always have a repair task running in the background. According to community reports, matches where one player keeps the dock active at all times tend to last roughly 30 to 40 percent longer than matches where the dock is left idle.
Navy War Base Defense Guide That Actually Holds
A solid base is the difference between a match where you can recover from a bad push and a match that ends the moment you lose your dock. Most new players treat base defense as a single building project, but it is really four overlapping systems that have to work together. Get all four right and your base becomes the kind of target the enemy has to commit a full fleet to crack.
The Four Pillars of a Defensible Base
Every strong Navy War base defense guide starts with the same four pillars: dock placement, shipyard coverage, factory output, and perimeter scouting. Dock placement determines how many entry angles attackers can use, shipyard coverage determines how fast you can rebuild after a wipe, factory output determines your resource ceiling, and perimeter scouting determines how early you see a push coming.
| Pillar | What to Build First | Common Mistake | Community Fix |
|---|---|---|---|
| Dock Placement | One central dock with island cover | Docks on open water | Dock tucked behind natural choke point |
| Shipyard Coverage | Shipyard within 1 screen of dock | Shipyard on outer ring | Shipyard adjacent to dock for instant repair |
| Factory Output | Two factories in early game | One factory, one turret | Two factories, no turret yet |
| Perimeter Scouting | One fast scout on loop | Static turret spam | Mobile destroyer with vision upgrades |
Base Defense Habits That Save Matches
Habits beat builds. The players who hold their base the longest do not have fancier layouts; they run the same five-step loop every 60 to 90 seconds. First, glance at the dock and confirm a repair is queued. Second, check the resource counter and rebalance if iron is dipping below the alert line. Third, peek at the minimap for red markers at the edge of vision. Fourth, listen for ping calls from teammates about incoming fleets. Fifth, reposition your scout if the enemy has been quiet for more than two minutes, because quiet usually means they are grouping up for a push.
These habits compound across a 20-minute match in ways that are easy to miss mid-game. By the time a coordinated enemy fleet of 6+ Frigates and a Battlecruiser lead reaches your island, you already know their composition from the scout you repositioned, your dock is at full 2000 HP because you queued a repair the moment it dropped below 80%, and your shipyard is mid-build on the Mortar-class counter-ship that the navy war ship tier explanation flags as the hard counter to enemy Frigate swarms — meaning you rejoin the fight in roughly 90 seconds instead of 4 minutes of blind rebuild time.
When to Expand vs When to Turtle
A frequent question from new players is whether to spend resources on expanding the base or turtling up. The honest answer depends on your server's pace, but a useful rule of thumb is to expand during the first 15 minutes of a match, then shift into turtle mode once the first major fleet fight breaks out. Expansion gives you territory, factories, and resource nodes. Turtle mode locks those gains in behind turrets, mines, and a defended dock. Try to do both at the same time and you will end up with half-built turrets next to a half-finished factory, which is the worst of both worlds.
Putting It All Together: A Survival Loop for New Captains
Survival in Navy War is not about one big play. It is a loop, and the loop only works if every piece pulls its weight. Pick your ship tier to match your match phase, not your ego. Pick a support role that fits your playstyle and stick to it for at least five matches before swapping. Build your base around the four pillars and then run the five-step habit loop on a steady timer. Each of those choices feeds the next, which is why the strongest new players in any given server look almost boring to watch. They are not flashy, they are consistent, and consistency is what wins 6v6 navy matches.
A quick recap of the survival loop: it is ship tier → support role → base build → habit loop, and every link in that chain has to fire in order or the loop collapses. If you roll a Tier 3 destroyer into a Tier 1 cap phase, your credit income stalls before the four pillars can even spawn, and you will watch the enemy team snowball your dock at the 3-minute mark — exactly the early-game wipe pattern that buries new captains before they learn the map rotation.
-
Build Tier 1 and Tier 2 ships first, push Tier 3 once your economy is stable
-
Anchor yourself in a support role and own the dock, scout, and peel jobs
-
Defend the base with the four-pillar system plus the five-step habit loop
-
Avoid the chase, the idle dock, and the half-built expansion
For more on avoiding the early-game wipe cycle, the Navy War beginner mistakes to avoid article breaks down the exact patterns that get new players sunk in their first three matches.
Frequently Asked Questions
What is the best ship tier for a brand-new Navy War player?
Stick with Tier 1 destroyers and Tier 2 cruisers for your first 10 minutes of every match. They build fast, repair cheap, and forgive positioning mistakes. Push into Tier 3 battleships only after your dock is defended and your factory output feels stable, because a sunk Tier 3 ship costs far more time and resources than a sunk Tier 1 ship.
How do I play support without feeling useless in fights?
Focus on impact that does not show up on the damage chart. Keep the dock repair queue full, screen for your damage dealers within render distance, and call out enemy positions on the map. According to community data, matches where one player owns the support loop tend to last significantly longer because the team is never caught with a half-repaired fleet and a cold dock.
What is the fastest way to defend my base as a new player?
Build the four pillars in this order: central dock with island cover, shipyard adjacent to the dock, two factories before any turrets, and one mobile scout on a continuous loop. Once those four pieces are in place, layer turrets and mines on the choke points the scout reports. A defended base is mostly habits and placement, not raw turret count.
Should I play submarines early or wait until mid-game?
Wait. Submarines are powerful but fragile, and they require map knowledge to position well. A new player in a Tier 4 submarine usually surfaces in the wrong place, gets focused by a destroyer with depth charges, and loses 10 minutes of build time. Unlock submarines once you already know the choke points and the enemy respawn patterns on your favorite map.
How many factories should I build before adding turrets?
Two factories is the community sweet spot for early-game base defense. The first factory covers your baseline resource drain, and the second factory gives you the surplus needed to start layering turrets and mines. Building turrets before you have the second factory almost always ends with the enemy out-producing your defenses, because you cannot replace what they burn down.